GoDaddy DKIM: How to Add and Verify a DKIM Record
 BounceCheck Team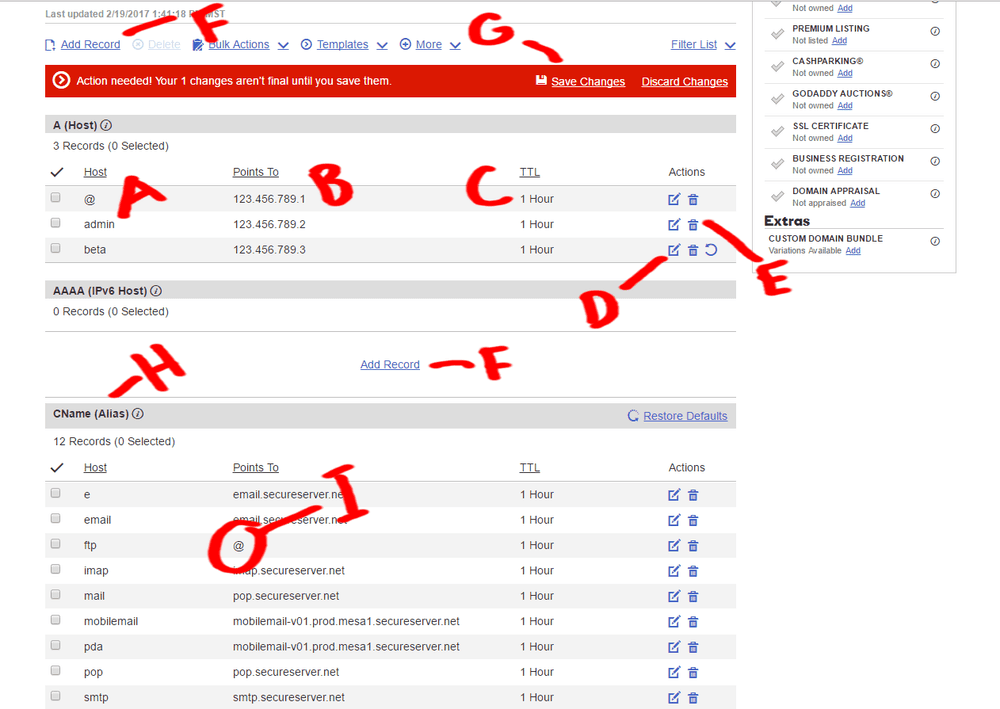
A GoDaddy DKIM record is a DNS record you publish in your domain's zone at GoDaddy, but the key it carries comes from your email provider, not from GoDaddy itself. You generate the DKIM selector and value inside Microsoft 365, Google Workspace, or your email service provider, then add it in the GoDaddy Domain Portfolio as either a TXT record or a CNAME record. This guide covers where to get the key, how to add both record shapes in GoDaddy, the host field quirk that trips most people up, how to turn on signing at the provider, and how to verify it.
What is a GoDaddy DKIM record?
A GoDaddy DKIM record is a DNS entry, published in your domain's zone at GoDaddy, that holds a public cryptographic key mailbox providers use to check a message's signature. DKIM (DomainKeys Identified Mail, defined in RFC 6376) has your sending platform sign each outgoing message with a private key, and the matching public key lives in DNS at selector._domainkey.yourdomain.com. When a message arrives, the receiver reads the selector from the signature, looks up that record, and verifies the signature. DKIM is one of the three email authentication standards, working alongside SPF and DMARC to prove your mail is legitimate.
The record takes one of two shapes depending on your provider. Some providers give you a TXT record whose value begins with v=DKIM1; k=rsa; p= followed by the public key. Others, including Microsoft 365, give you CNAME records that point back to a key the provider hosts and rotates for you. Either way, GoDaddy only stores the record; the key belongs to whoever sends your email.
Where your DKIM key comes from (your email provider, not GoDaddy)
GoDaddy hosts your DNS, but it does not generate your DKIM key unless GoDaddy is also your email provider. The selector and value come from whatever platform sends your mail, so the first step is always to open that platform's admin and generate or reveal the DKIM record before you touch GoDaddy. Where you find it depends on the provider.
| Email provider | Record type | Where to get the DKIM record |
|---|---|---|
| Microsoft 365 | Two CNAME records | Microsoft Defender portal, Email authentication settings, DKIM |
| Google Workspace | One TXT record | Google Admin console, Apps, Gmail, Authenticate email |
| Other ESP (Mailchimp, SendGrid, and similar) | TXT or CNAME | The provider's domain authentication or sending domain settings |
Microsoft 365 issues two records, selector1._domainkey and selector2._domainkey, so it can rotate keys without you editing DNS again. Google Workspace generates a single TXT record at the google selector. Copy the exact selector and value your provider shows, because a single wrong character stops verification.
How to add a DKIM record in GoDaddy
To add a DKIM record in GoDaddy, open your domain's DNS settings in the Domain Portfolio, select Add New Record, choose TXT or CNAME to match what your provider gave you, enter the selector in the Name field, paste the value or target, and save. The steps below apply to both record types.
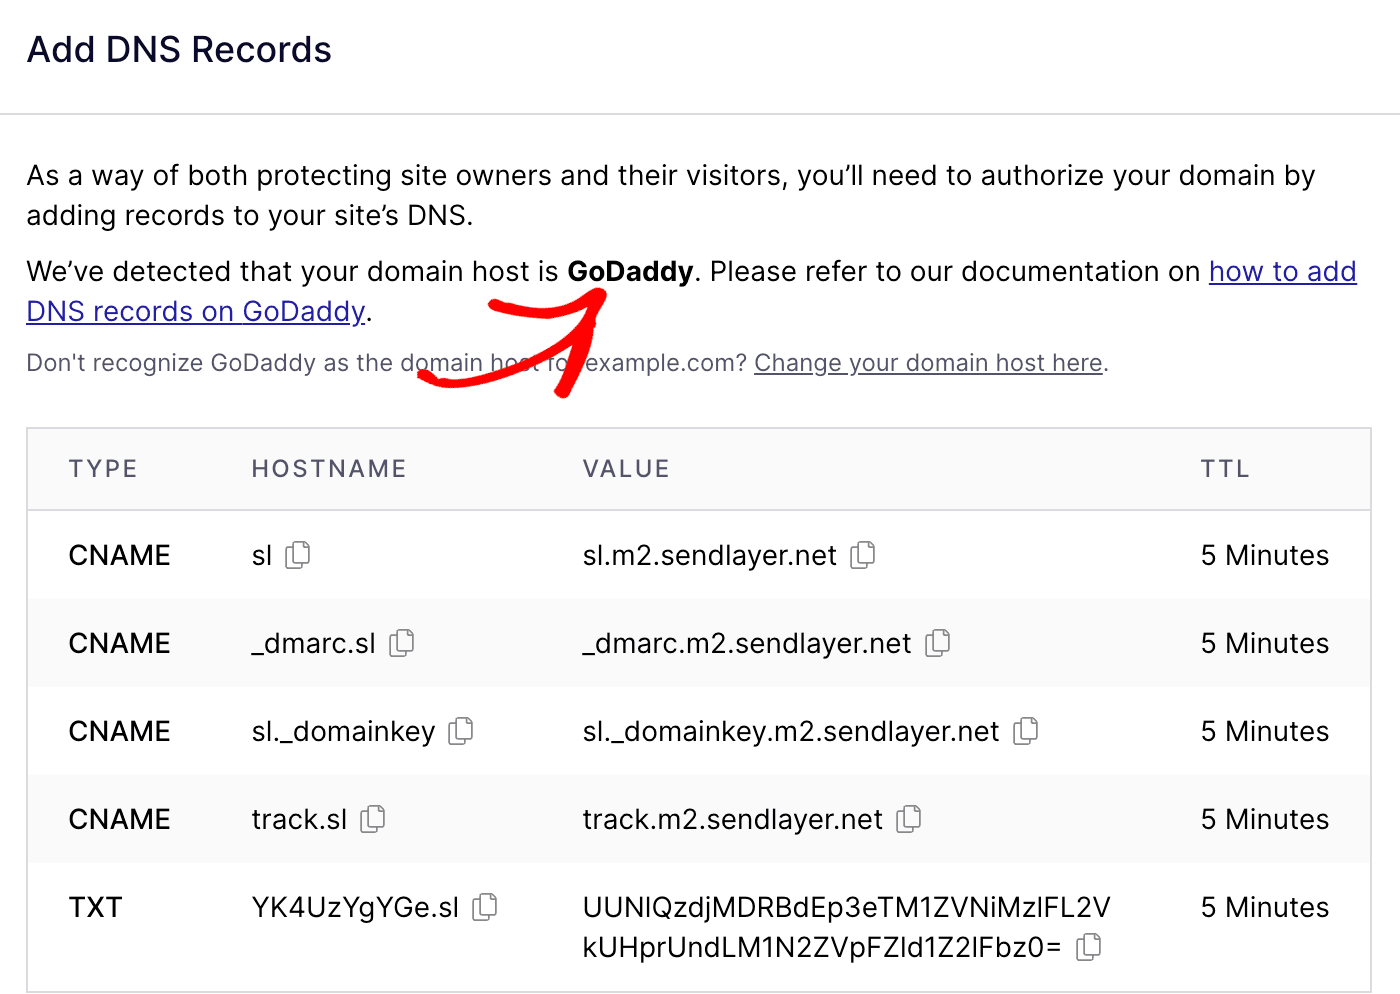
- Sign in to GoDaddy and open your Domain Portfolio, then select the domain and open its DNS settings (Domain Settings, then DNS, or Manage DNS).
- In the DNS Records section, select Add New Record.
- Set Type to
TXTorCNAME, matching the record your provider generated. - In the Name (Host) field, enter only the selector portion, such as
google._domainkeyorselector1._domainkey. Do not add your domain, because GoDaddy appends it automatically. - For a TXT record, paste the full value starting with
v=DKIM1;into the Value field. For a CNAME record, paste the provider's target hostname into the Points to field. - Leave TTL at the default of one hour unless you have a reason to change it.
- Select Save, then repeat for any second record, since Microsoft 365 needs two CNAME entries.
You add these in the same DNS Records screen where you add a GoDaddy SPF record, so the workflow is familiar if you have already set up SPF. The field you paste into depends on the record type:
| Record type | Name (Host) | Value / Points to |
|---|---|---|
| TXT (Google Workspace, some ESPs) | google._domainkey | v=DKIM1; k=rsa; p=MIGfMA0... |
| CNAME (Microsoft 365) | selector1._domainkey | selector1-yourdomain-com._domainkey.tenant.onmicrosoft.com |
DKIM TXT records vs CNAME records
The difference between the two shapes is who holds the key. A TXT record stores the public key directly in your DNS, so the value you paste is the key itself and you own it. A CNAME record stores only a pointer to a hostname the provider controls, so the provider holds and rotates the underlying key for you. Microsoft 365 uses CNAME records for that reason, while Google Workspace and many ESPs hand you a TXT value.
Two details matter when you add either type. First, the host field quirk: GoDaddy automatically appends your domain to the Name field, so entering the full google._domainkey.yourdomain.com produces a doubled record at google._domainkey.yourdomain.com.yourdomain.com that never resolves. Enter only google._domainkey. Second, character limits: a 2048-bit DKIM key can exceed the 255-character limit for a single DNS string, so paste the full value exactly as your provider supplies it and let GoDaddy store it, rather than trimming it to fit.
Enable DKIM signing at your provider
To enable DKIM signing, wait until the record resolves in DNS, then turn signing on in your provider's admin: in Microsoft 365 you enable DKIM for the domain in the Defender portal, and in Google Workspace you select Start authentication on the same Authenticate email page where you generated the key. Publishing the record in GoDaddy is only half the job, because DKIM does not sign anything until you flip this switch, and enabling it before the record has propagated makes the provider's validation check fail. Once signing is active, every outgoing message carries a DKIM signature that receivers can verify against the record you just added.
Common GoDaddy DKIM record mistakes
Most GoDaddy DKIM failures trace back to a few repeatable errors: entering the full domain in the Name field, mixing up TXT and CNAME, forgetting to enable signing, or testing before the record propagates. The list below covers the ones that break setups most often.
- Entering the full hostname in the Name field. GoDaddy appends your domain automatically, so use only the selector such as
selector1._domainkey, never the fullselector1._domainkey.yourdomain.com. - Choosing the wrong record type. Paste a TXT value into a TXT record and a CNAME target into a CNAME record, because a TXT value in a CNAME (or the reverse) will not validate.
- Adding only one Microsoft 365 record. Microsoft 365 needs both
selector1._domainkeyandselector2._domainkey, so a single CNAME leaves signing broken. - Enabling signing before the record resolves. The provider's check fails if DNS has not propagated yet, so wait, then turn signing on.
- Testing immediately. GoDaddy shows the change in your account at once, but global propagation can take up to 48 hours.
How to verify your GoDaddy DKIM record
To verify your GoDaddy DKIM record, run dig txt selector._domainkey.yourdomain.com on macOS or Linux (or dig cname for a CNAME record), or paste your selector and domain into an online DKIM checker. Confirm the record resolves and returns the key or target your provider issued. Send a test message to an inbox you control and check the headers for dkim=pass. If a check returns a dkim=temperror instead, the record is usually still propagating or temporarily unreachable rather than wrong.
Authentication proves your mail is legitimate, but it does not clean your list. Pairing DKIM with SPF and DMARC gets your messages authorized, while removing invalid addresses is what keeps bounces from eroding the reputation you just built.
FAQs
Where do I get my DKIM key for GoDaddy?
Your DKIM key comes from your email provider, not GoDaddy. Generate it in Microsoft 365, Google Workspace, or your ESP's domain authentication settings, then copy the selector and value into a GoDaddy DNS record.
Should I use a TXT or CNAME DKIM record in GoDaddy?
Use whichever your provider gives you. Google Workspace and many ESPs supply a TXT value that holds the key directly, while Microsoft 365 supplies two CNAME records that point to keys Microsoft rotates for you.
Why is my GoDaddy DKIM record doubling the domain?
GoDaddy automatically appends your domain to the Name field, so entering the full selector._domainkey.yourdomain.com creates a doubled record. Enter only the selector portion, such as selector1._domainkey.
How long does DKIM take to propagate in GoDaddy?
The record usually appears in your account right away, but full DNS propagation can take up to 48 hours. Wait until the record resolves before enabling DKIM signing at your provider.
How do I verify my GoDaddy DKIM record?
Run dig txt selector._domainkey.yourdomain.com on macOS or Linux, or use an online DKIM checker, then send a test message and confirm the headers show dkim=pass.
Authentication gets your mail signed and authorized, but invalid addresses still hard-bounce and drag down the reputation you just set up. Run your list through BounceCheck before your next send to remove the addresses that would bounce.

BounceCheck Team
The team behind BounceCheck - helping businesses verify emails and improve deliverability.